Nowadays, printing is still a necessary function for many people. Whether you need to print documents for work, school, or personal use, computer printer installation is an essential task. Nevertheless, for many, the procedure can appear daunting. That’s why in this blog, we have brought a complete guide on how you set up a printer on your computer.
Here is A Step-By-Step Guide To Connect A Printer With Your Computer:
1. Compatibility

Before taking printer setup services, it’s essential to check compatibility with your computer. Most printers nowadays are compatible with Windows and Mac computers, but it’s crucial to make sure before purchasing or using one.
It’s also essential to check the printer’s compatibility with your operating system version. This can be accomplished by visiting the website of the manufacturer or consulting the user manual.
2. Connect Your Printer
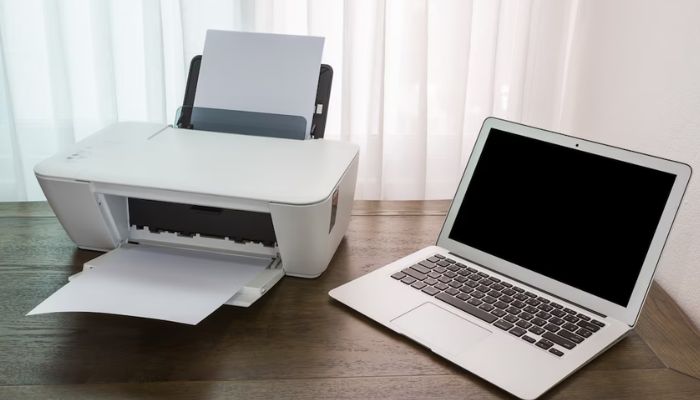
Once you have ensured compatibility, the next phase is to connect your printer to your computer. The USB cable that comes with most printers can be used to connect the printer to your computer. Alternatively, some printers also come with Wi-Fi or Ethernet connectivity options, allowing you to connect wirelessly.
If you’re using a USB cable, plug one corner of the cable into your printer and the other end into your computer’s USB port. If your printer has Wi-Fi or Ethernet capabilities, you will need to connect it to your home network before proceeding.
3. Install Printer Drivers

After you have connected your printer to your computer, you will need to install printer drivers. Printer drivers are software that enables your computer to communicate with your printer. Without them, your computer would not be capable to identify your printer.
Most printers will come with an installation CD that you can utilize to install the drivers. However, if your computer doesn’t have a CD drive, you are able to download the drivers from the website of the manufacturer. Once you got the drivers, obey the directions provided to install them on your computer.
4. Configure Printer Settings
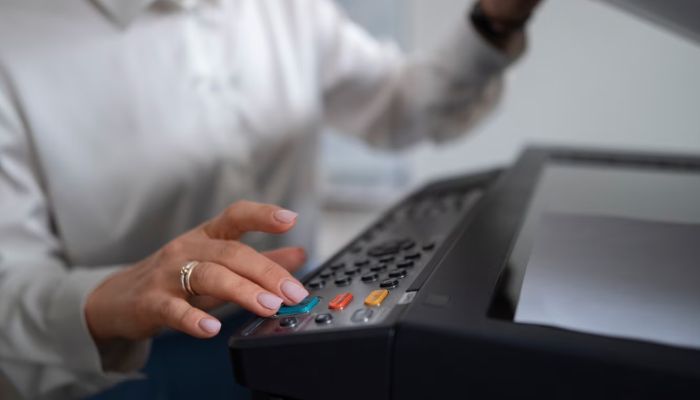
After you have installed the printer drivers, you will need to configure your printer settings. This includes selecting the printer as the default printer, setting the printing preferences, and adjusting other settings such as paper size and print quality.
For a computer printer installation as the default printer, go to the Control Panel of your computer and choose “Devices and Printers.” Right-click on the printer you want to use and click on “Set as default printer.”
To adjust printing preferences, go to the printer’s properties and select the “Printing Preferences” option. From there, you can change settings like print quality, paper size, and orientation.
5. Test Your Printer
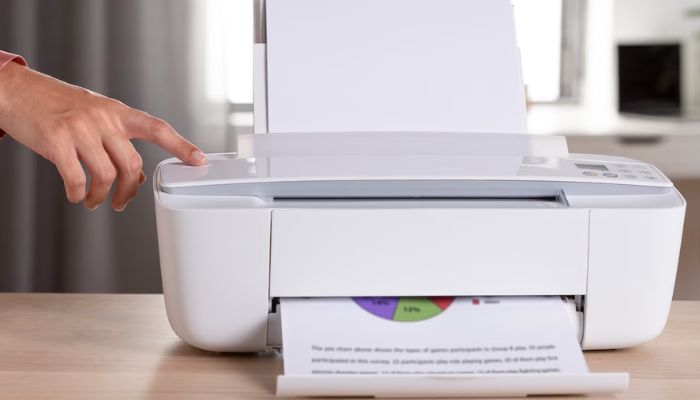
After you have configured your printer settings, the final step is to test your printer. You can do this by printing a test page. To print a test page, go to your computer’s Control Panel and select “Devices and Printers.” Right-click on the printer you want to use and select “Printer properties.” From there, select the “Print Test Page” option.
If the test page prints successfully, then your printer is set up correctly, and you can start using it to print documents.
Conclusion
Setting up a computer printer installation doesn’t have to be a complicated process. By following these simple steps, you can easily connect your printer to your computer and start using it to print documents. Remember to check compatibility, connect your printer, install printer drivers, configure printer settings, and test your printer. With these steps, you’ll be able to set up your printer in no time and enjoy the convenience of printing documents from the comfort of your home.
Also Read: Why Liberty Computer System is the Best IT Hardware Supplier in Dubai